
Greenhouse IoT Project – Part 2 – Connecting
We already have the power! We now need to get my ESP32 micro contoller online and able to connect to the Wi-Fi. There are some components and gotchas along the way of connecting things up. Let me show you…
Prepare the infrastructure
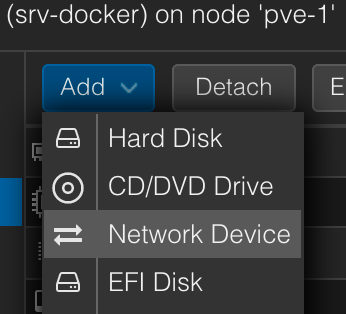
My plan is to use my installation of Home Assistant in this project. This runs in a docker container, on a Linux VM, running on my local Proxmox host. Since I’ve got a dedicated VLAN for my IoT-devices I want Home Assistant (hereby called HA for short) to talk to the devices directly. HA therefore needs a network interface in addition to the primary one. The journey then starts on Proxmox, by adding a virtual network adapter to the VM:
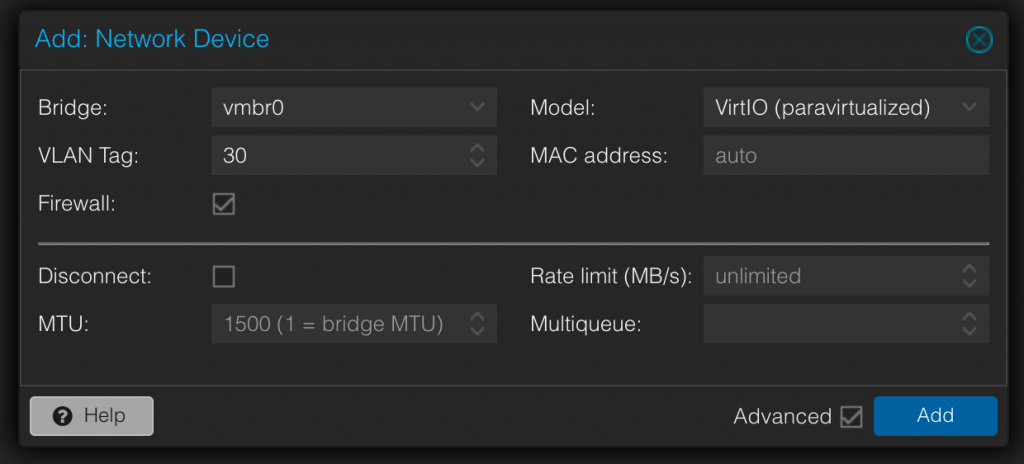
And then it’s just adding what VLAN it will be tagged with, and click «add»
But don’t believe everything just works from now on. Oh no… we need to setup that interface on the VM. Firstly, I lacked some of the tools for managing networks in Linux. The command «ifconfig» was not available. Luckily this is a matter of just installing them with this simple command:
sudo apt install net-toolsAfter that, we need to actually configure the network adapter. I use Ubuntu, so your milage may vary. Go to the folder containing your network config
ls /etc/netplanTake backup of your config file. Just check what files exist already so you backup up the correct one if there are more than just one:
sudo cp /etc/netplan/00-installer-config.yaml /etc/netplan/00-installer-config-backup.yamlOpen file and edit:
sudo nano /etc/netplan/00-installer-config.yamlAdd the necessary lines, in my case I just made a copy of every setting for ens18 (my primary adapter) and modified them for ens19 (the new adapter):
network:
  ethernets:
    ens18:
      addresses:
      - 10.0.0.12/24
      nameservers:
        addresses:
        - 10.0.0.11
        search: []
      routes:
      - to: default
        via: 10.0.0.1
    ens19:
      addresses:
      - 10.0.30.12/24
      nameservers:
        addresses:
        - 10.0.0.11
        search: []
      routes:
      - to: default
        via: 10.0.30.1
  version: 2
Save and close the file. Curious to see if this worked, I used this command to actually test the settings before I save them:
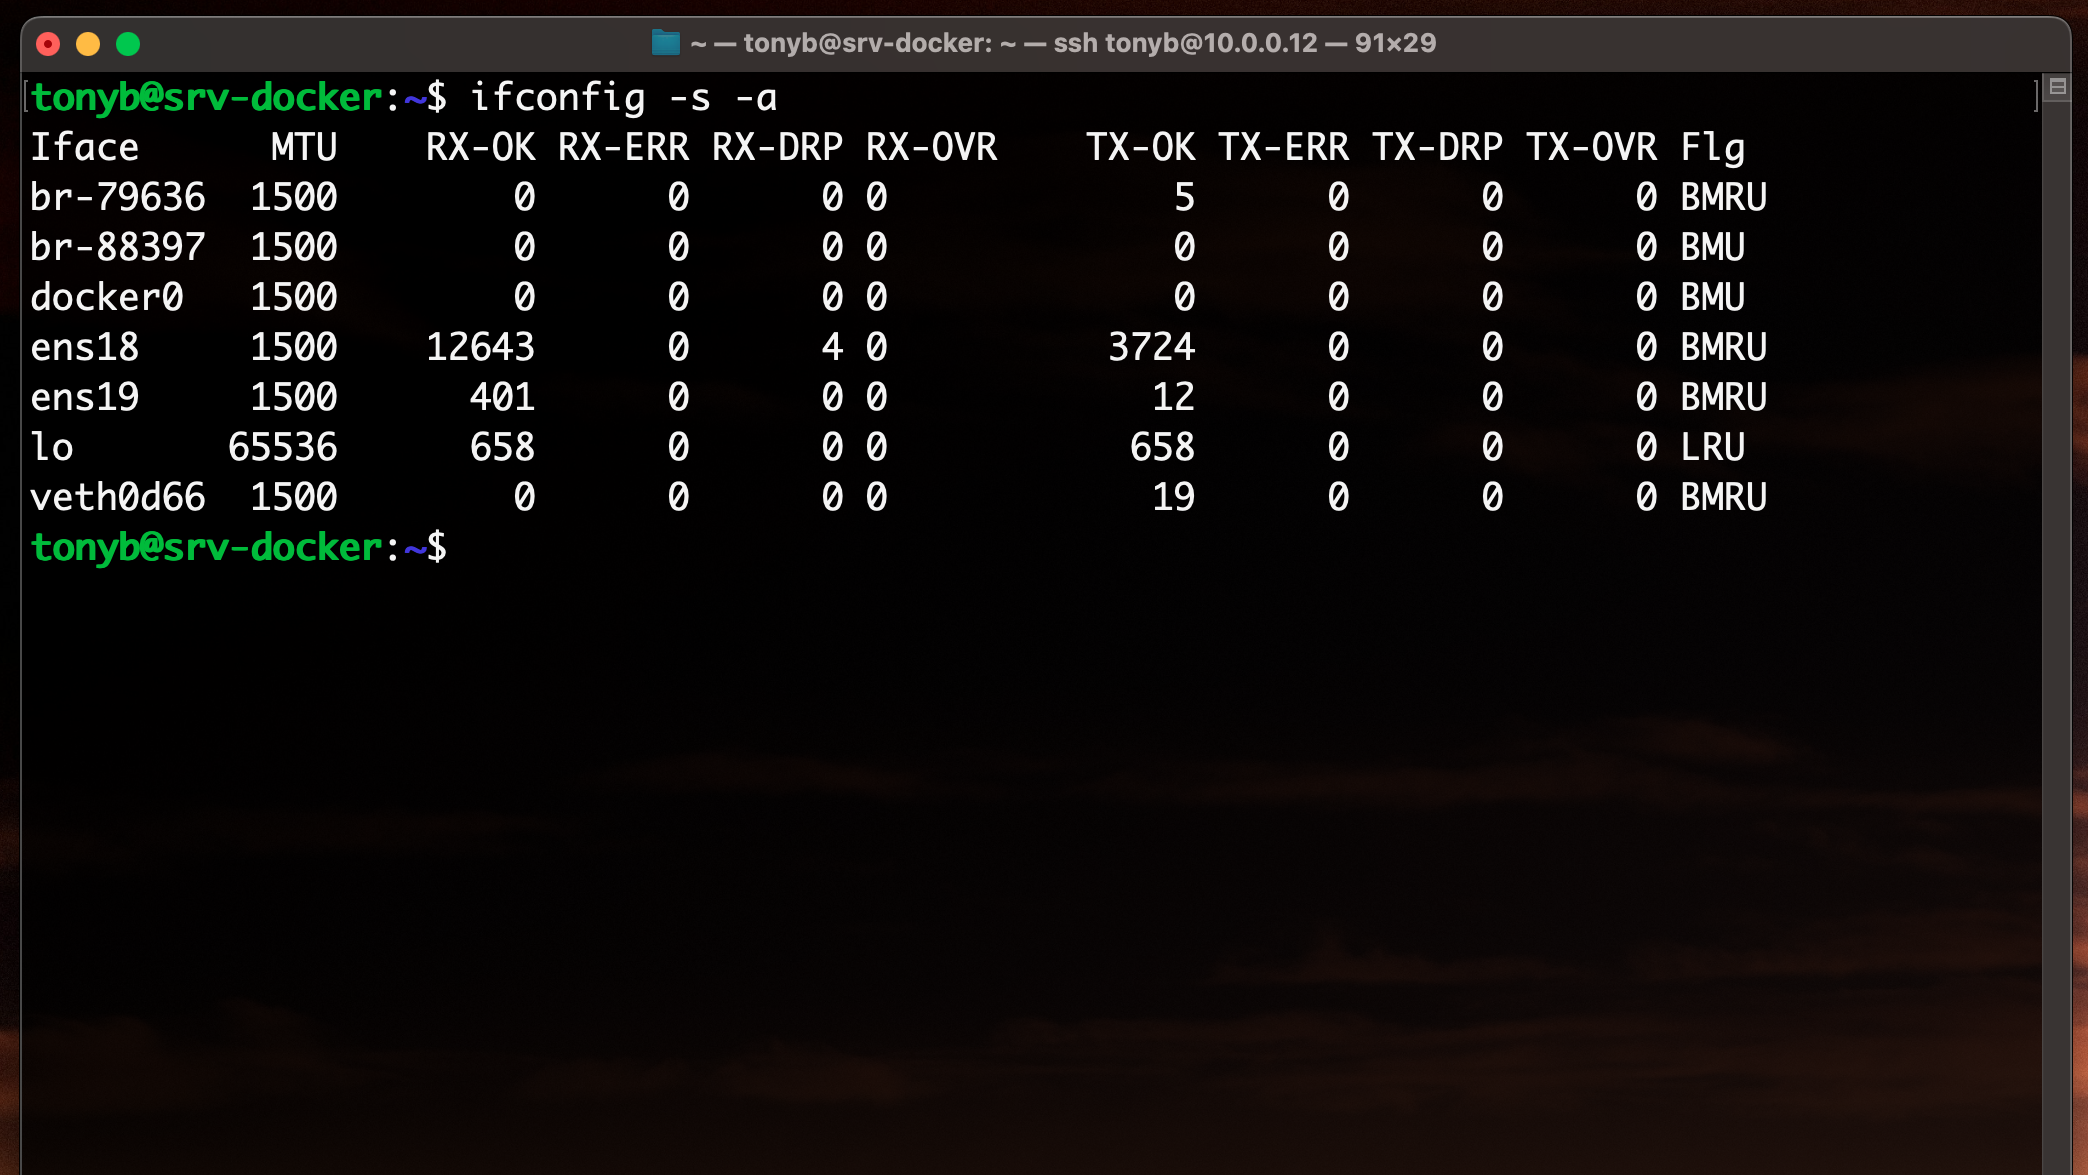
sudo netplan tryIn my case this worked like a charm, and I proceeded to save the settings. Just to make sure there is traffic on the adapter I used this command:
ifconfig -s -aWhich in turn gave me this output which concludes my Linux config:
Setup Home Assistant on the new interface
The next crucial step is to make Home Assistant aware of the new interface. Log inn to your HA and go to the Network adadpter-settings. My HA was set at «Auto Configure». I had to remove this checkbox, which in turn gave me the options to manually set network adapters HA can listen on.
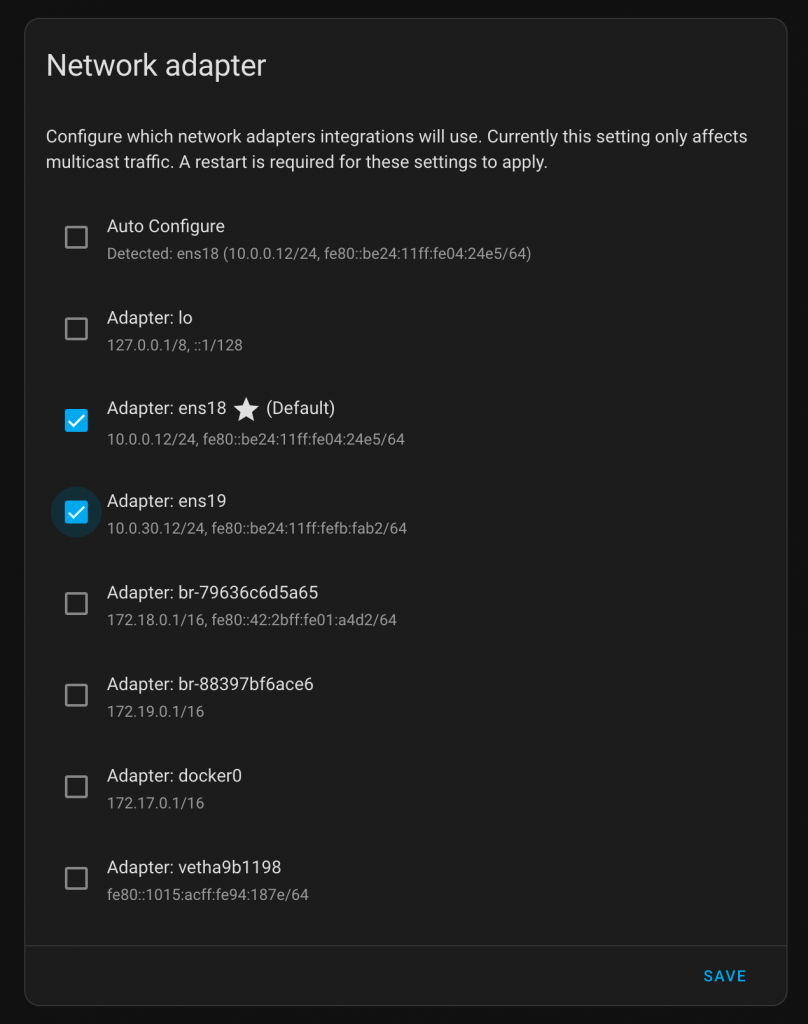
Add your newly added adapter, and press «Save»!
Setup of the ESP32 controller
Now we have most of the infrastructure ready. We now need to connect HA to ESP32 (or the other way around). To do this i want to use a tool called ESPHome. This integrates ESP32 micro controllers in a really simple fashion. But, you need to flash your controller with this software first.
This is actually really simple. Just connect you ESP32 to your computer with USB, and head to https://esphome.io/projects to begin setup right from the web page! Just make sure you use Google Chrome or Microsoft Edge.
Choose «Empty ESPHome device» and scroll down to a blue button named «Connect». My browser prompted me stating that «esphomeio wish to connect to a serial port». Just click the «Connect»-button

You then get a dialog with the option for installing «ESPHome Web». Click it! It then installs the correct software on your micro controller:

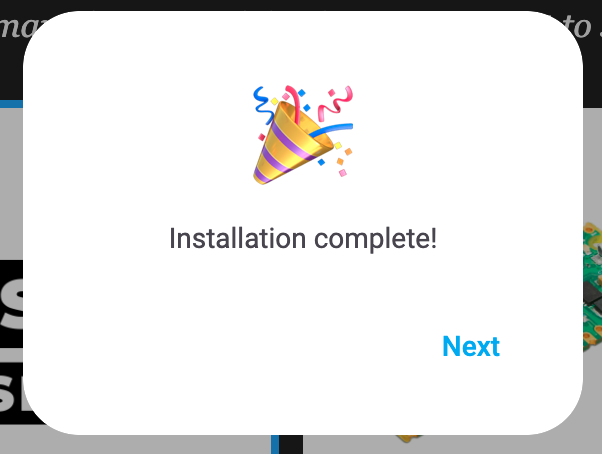
Let it install. It takes about two minutes for it to finish

Wohoo! Success! But we are not finished yet!
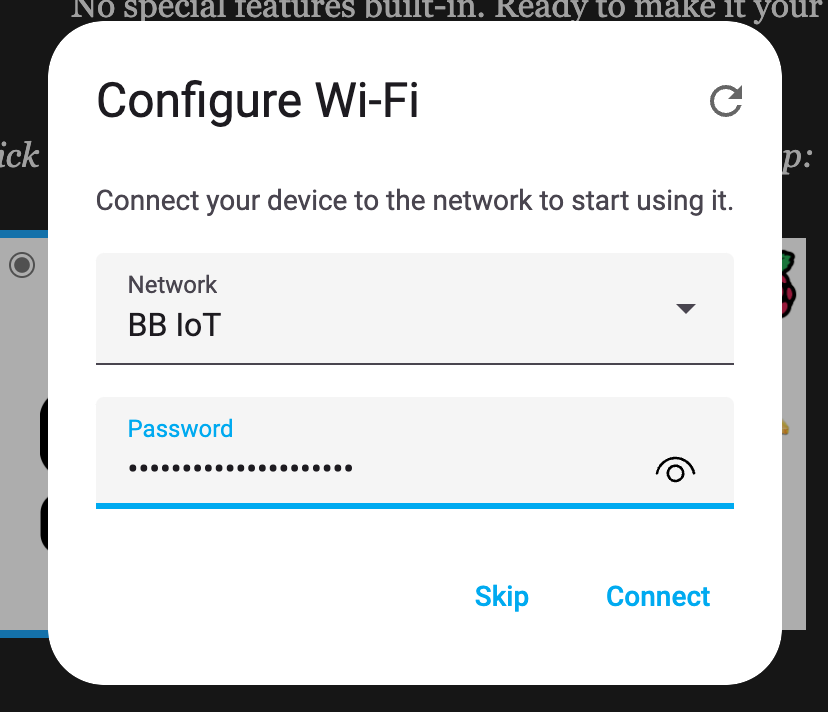
Now we need to connect the ESP32 to Wi-Fi. Since I’ve got a dedicated IoT Wi-Fi, I input that SSID and key, then click «Connect»
Now we’re ready! Finally, it’s connected to Wi-Fi. Now it’s online and discoverable by ESPHome, which we now need to install on HA
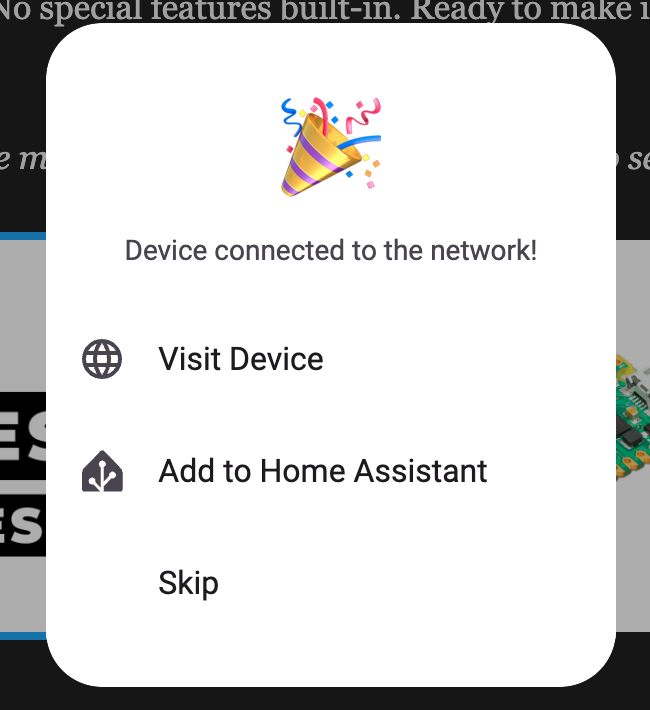
But first, get the IP of your device by simply click on «Connect» again and hover over «Visit device». Down in the left corner it shows the IP of your device. Take a note of this, as you will need it later.

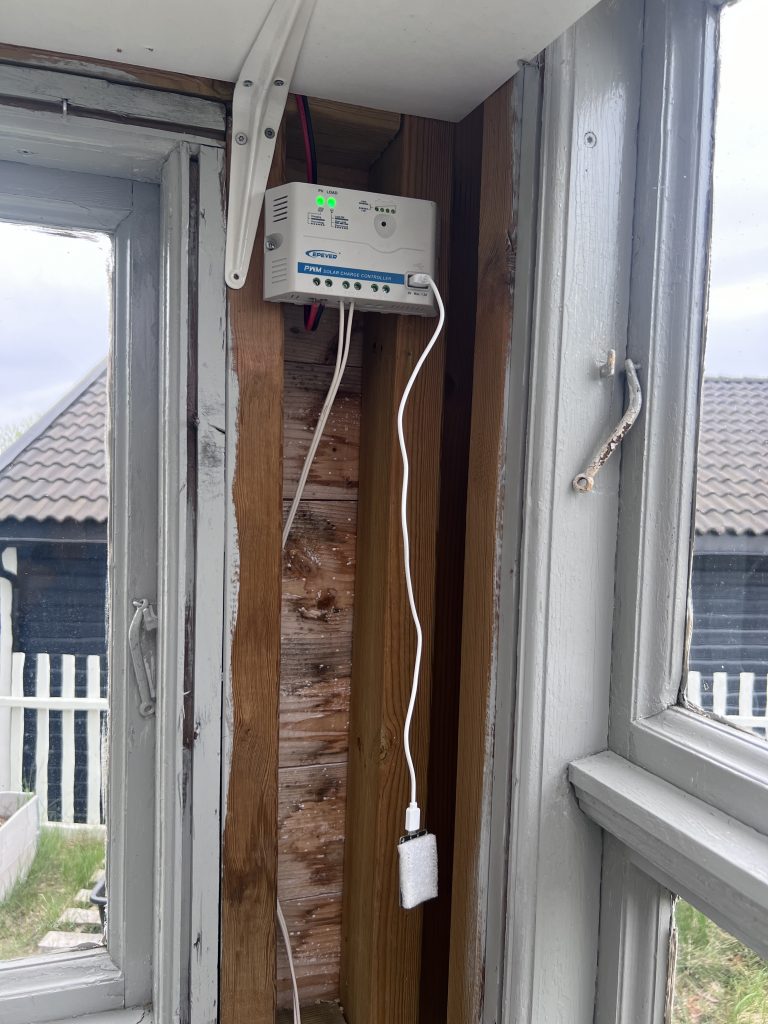
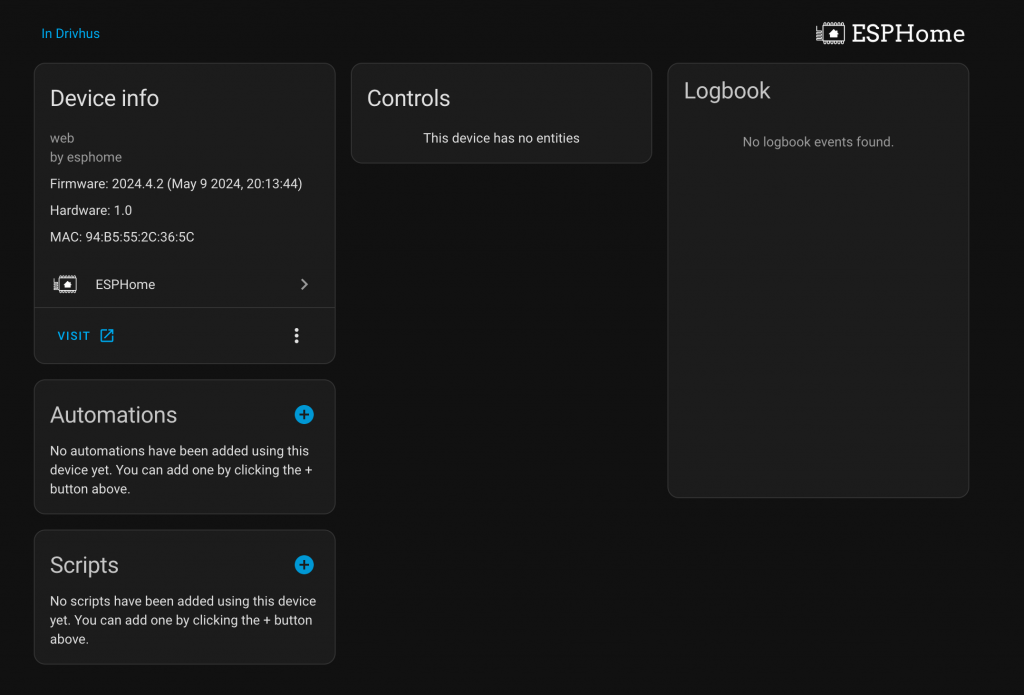
Now for the first real test: power it up in the greenhouse where it will live, and hopefully it will connect to Wi-Fi.
And yes!!! I browsed to the IP of the device and this default dashboard shows up. Success!
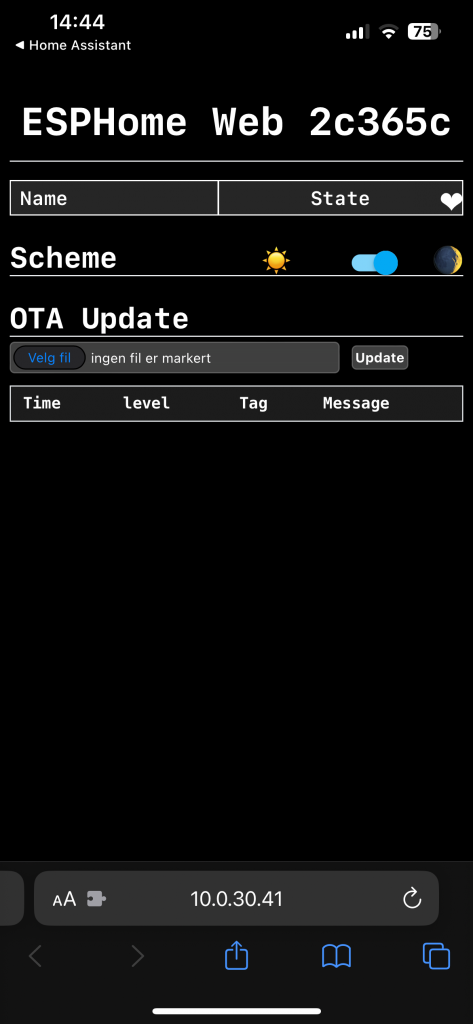
But we’re not done yet, are we?
Install and setup ESPHome on HA:
The final piece in the puzzle (For now!) is to install and setup ESPHome as an integration on HA. To do so, simply press this link here: Setup ESPHome on HA
This will take you to a wizard to install it on HA.

Click «Open link» and it will take you to HA, where this dialog will pop up:
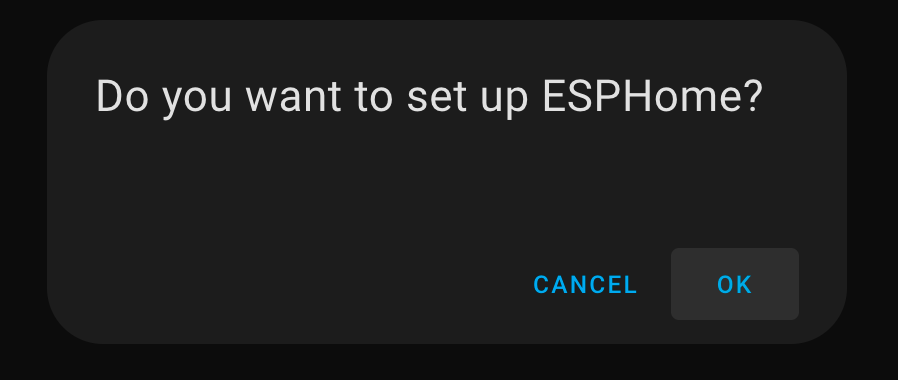
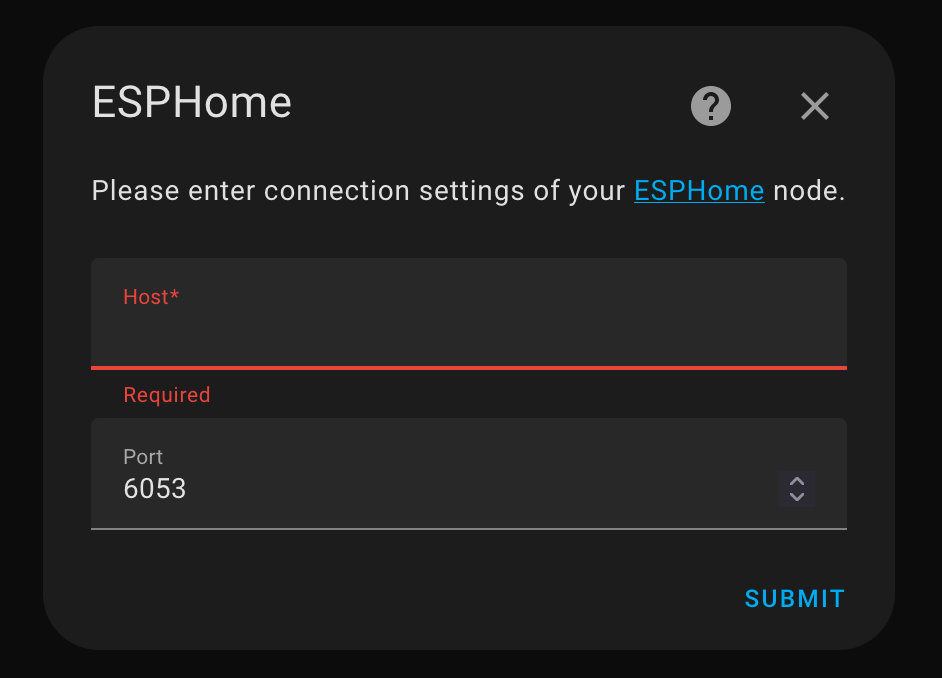
Of course you will! Click «OK». Let it do it’s job. But now you are prompted about something else, because it needs a node to connect to. And this is actually your ESP32-device.
The Host-field is the IP to your ESP32 you took a copy of a couple of steps back. Click «Submit» and it will connect.
And hopefully it will find your device!
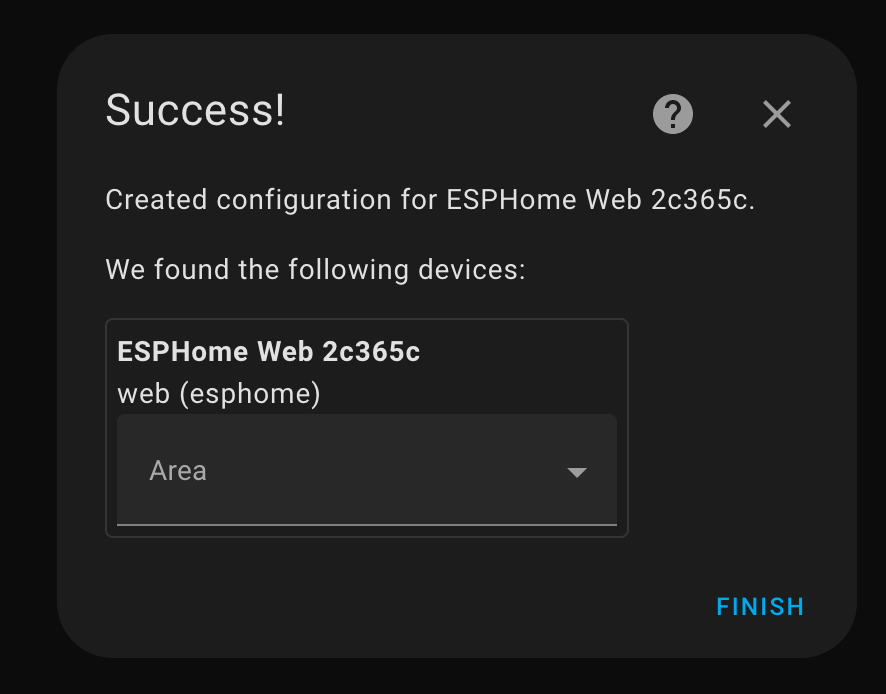
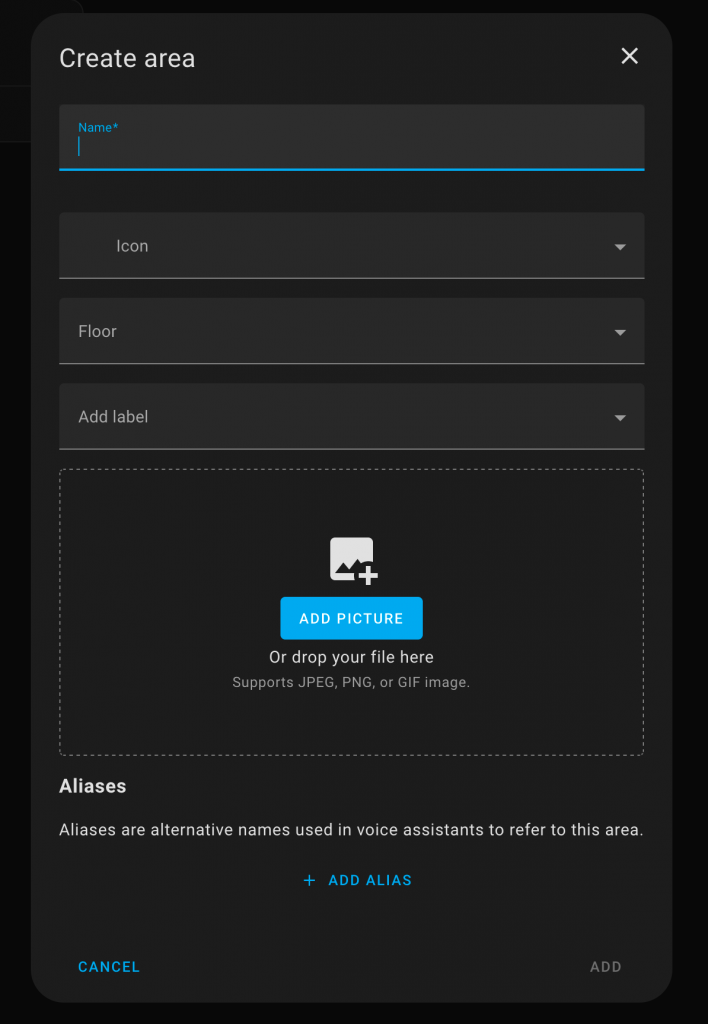
Next you need to create an area for where this controller is located. This acts as a location for where you hide all your micro controllers around the house. I called mine «Drivhus». That’s the norwegian word for greenhouse. Choose icon, what floor and upload a picture if you want. Click «Add» when you are done.
Finally, it will look something like this. It’s connected, but nothing more yet.
We need some sensors to add and configure. But that’s something for the next part in the series. Will I manage to configure the sensor properly so I can read out temperatures? And what will I do with those data? You might have guessed it already, but let us see if my theories is correct and I can manage to send my data off to the cloud!