
Greenhouse IoT Project – Part 3 – I screwed up!
This could have been the last part of the blog series. But it wasn’t. Thankfully! Just one of those «one step forward, three steps back» kind of things that occasionally happen! I did a lot of config in the previous part. Was it all for nothing?
The thing is, I had my Home Assistant running as a Docker container. And it did work for the most part… besides it does not support add-ons when run as a container. And of course did my plan require an add-on. Aaaargh! To actually use ESPHome as intended it needed to run as an add-on, not an integration. It simply was not possible with my installation of HA. Unless…
Full reinstall!
Some Googling later and I decided to replace my container and install HA as a separate VM on Proxmox. Was that an out-of-the-box solution? Of course not! Luckily i stumbled over this script I ran via SSH on my Proxmox host:
bash -c "$(wget -qLO - https://github.com/tteck/Proxmox/raw/main/misc/post-pve-install.sh)"The full article kan be read here: https://www.derekseaman.com/2023/10/home-assistant-proxmox-ve-8-0-quick-start-guide-2.html
This took me to an installer which in return deployed a new VM on Proxmox for me with the correct software. Quite easy actually! Took a backup of my old HA, imported it into the new one and I was up and running like nothing had happened. Just had to add a network adapter with the correct VLAN tags as a secondary interface, and one VM-reboot later the HA snapped it up automatically.
Ah… and one thing: stop and/or delete the running container with the old HA 😉
Onwards to the cloud!
Before you go on from here: You must use a browser that supports WebSerial. Edge and Chrome supports it. Not Firefox. I’ve tried! Now you’re warned…
Now I could install the ESPHome as an add-on. Go to this link to install it directly in your own HA. Or visit this page here: https://esphome.io/guides/getting_started_hassio
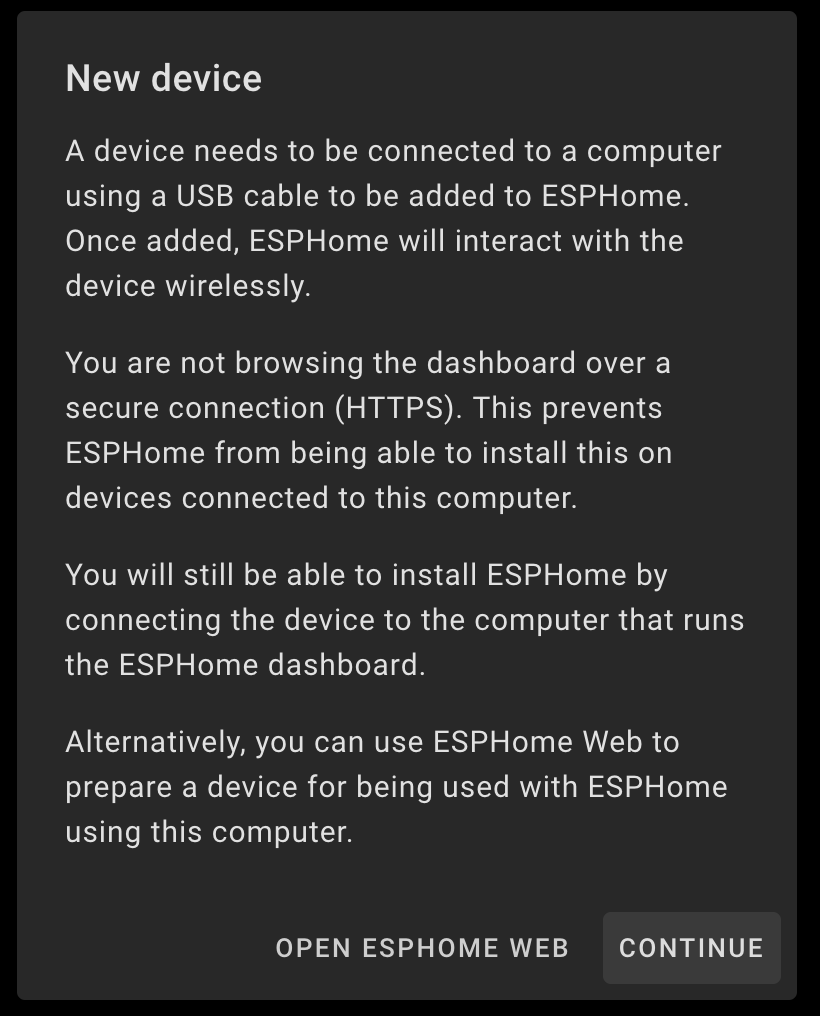
With an empty ESPHome I needed to add my device to the dashboard. And these steps should have been instead of the empty ESPHome Web stuff I used earlier. I still need to have it connected physically to my machine, but the steps before that is a bit different. Click on «+NEW DEVICE» and this box greets you.
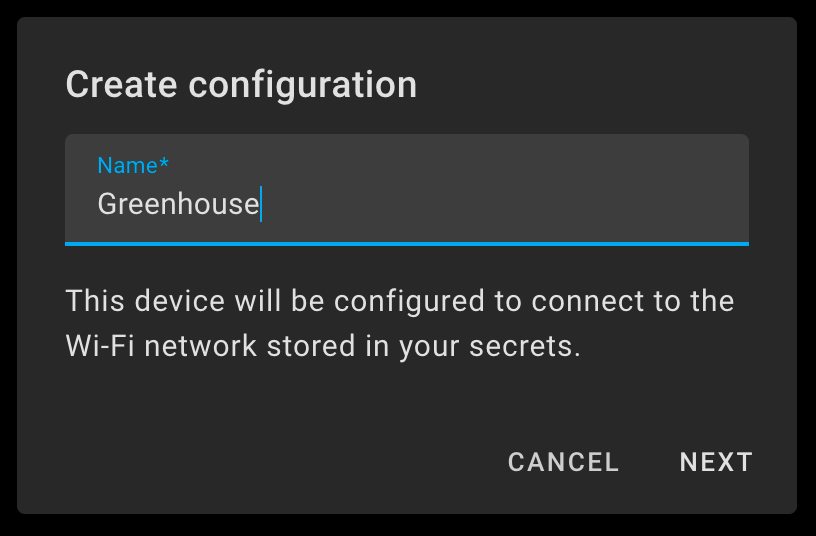
Choose a good name. Greenhouse is a good one in my case!
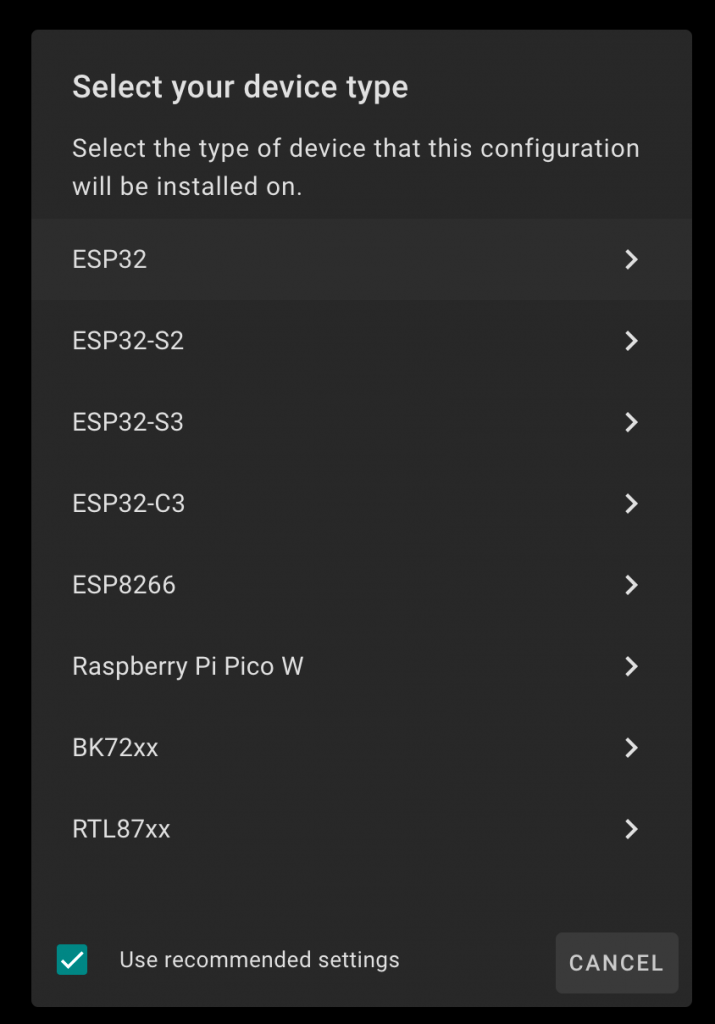
Choose your device type.
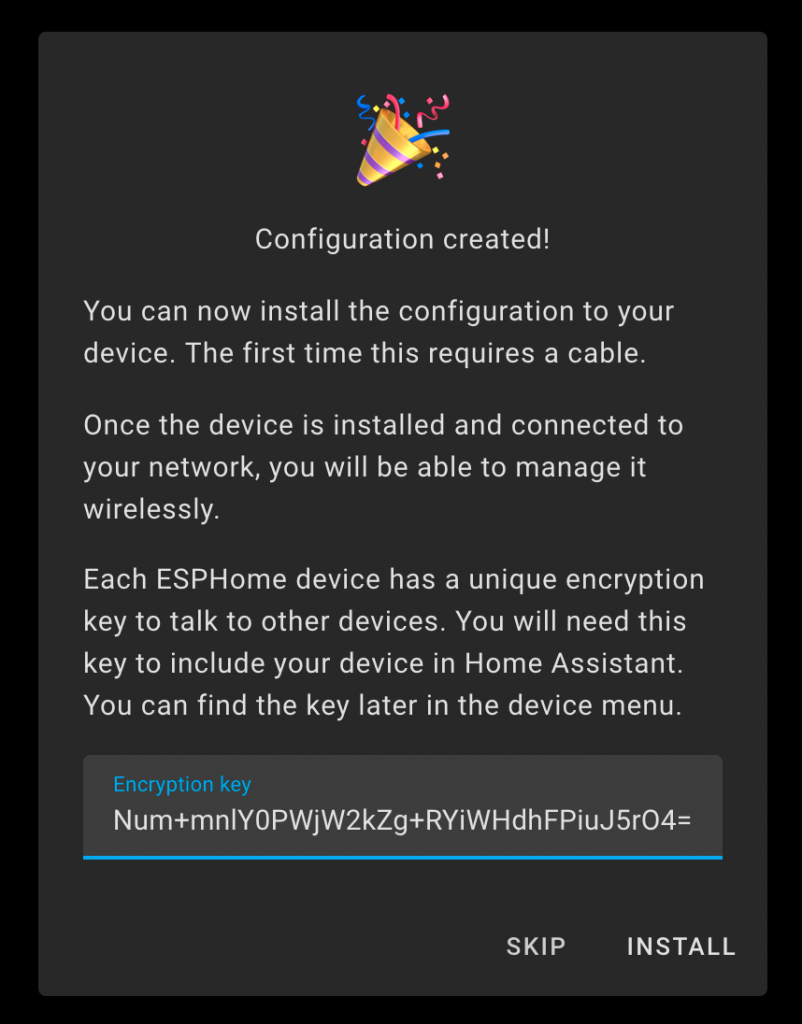
It then creates an encryption key. No need to tell you to keep this in a safe place? I’ll wait while you’re saving it… Ok? Good? Now, click «INSTALL»:
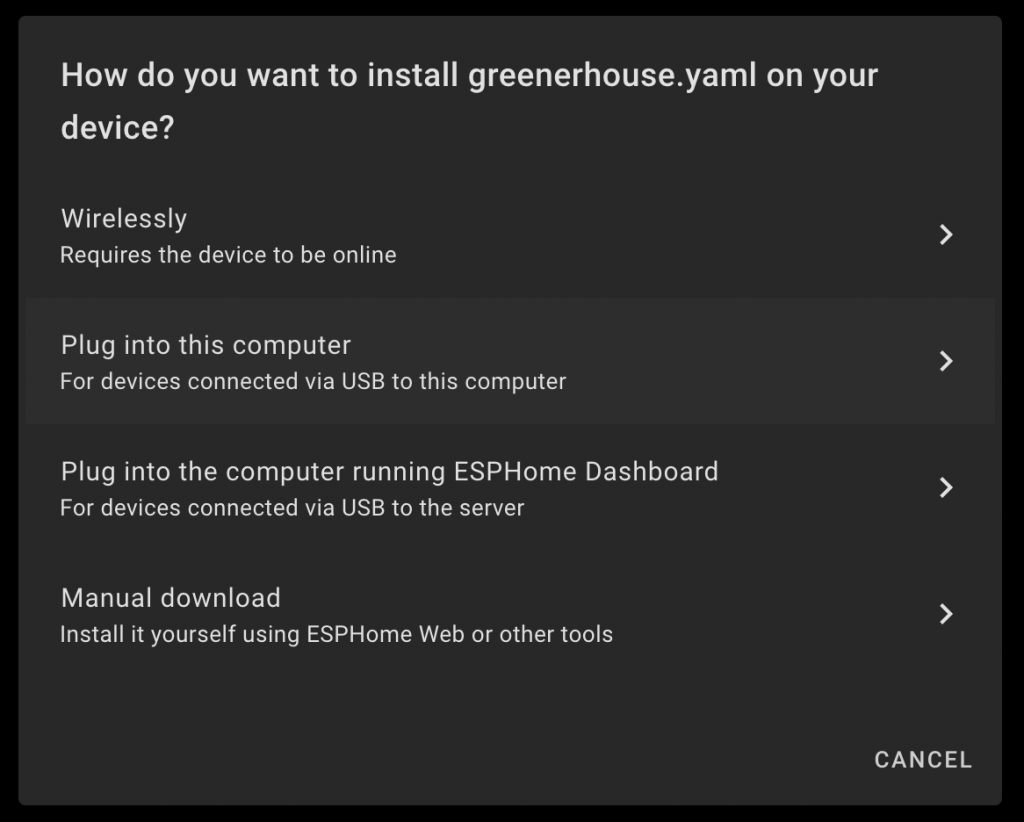
Choose what fits you scenario. I went with «Plug into this computer»:
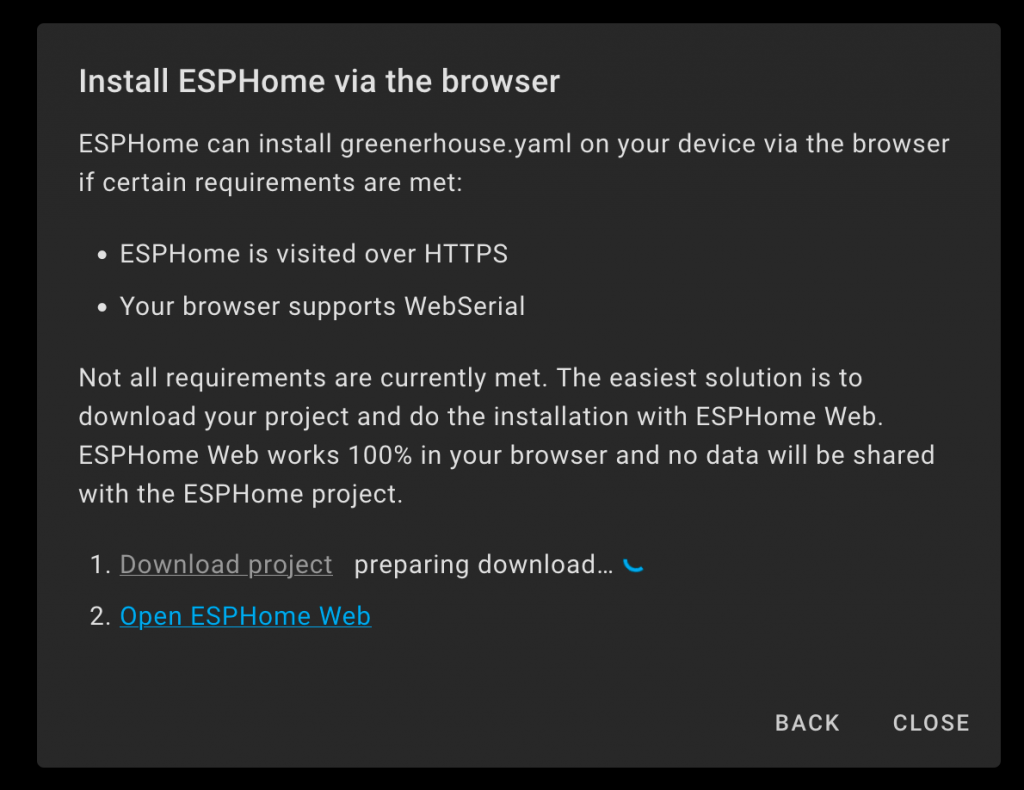
It then will compile the files and prepare for download in the background. Wait, and then click «Download project». Then click «Open ESPHome Web»:
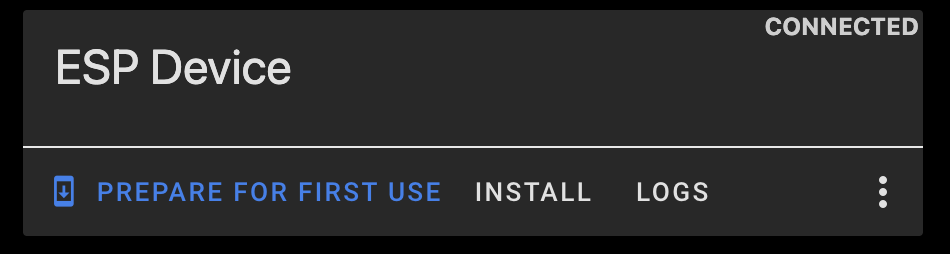
The ESPHome website will emerge and let you connect your devices as I showed you in the last post, Part 2. When connected, you have some options. Here you need to click «INSTALL»:
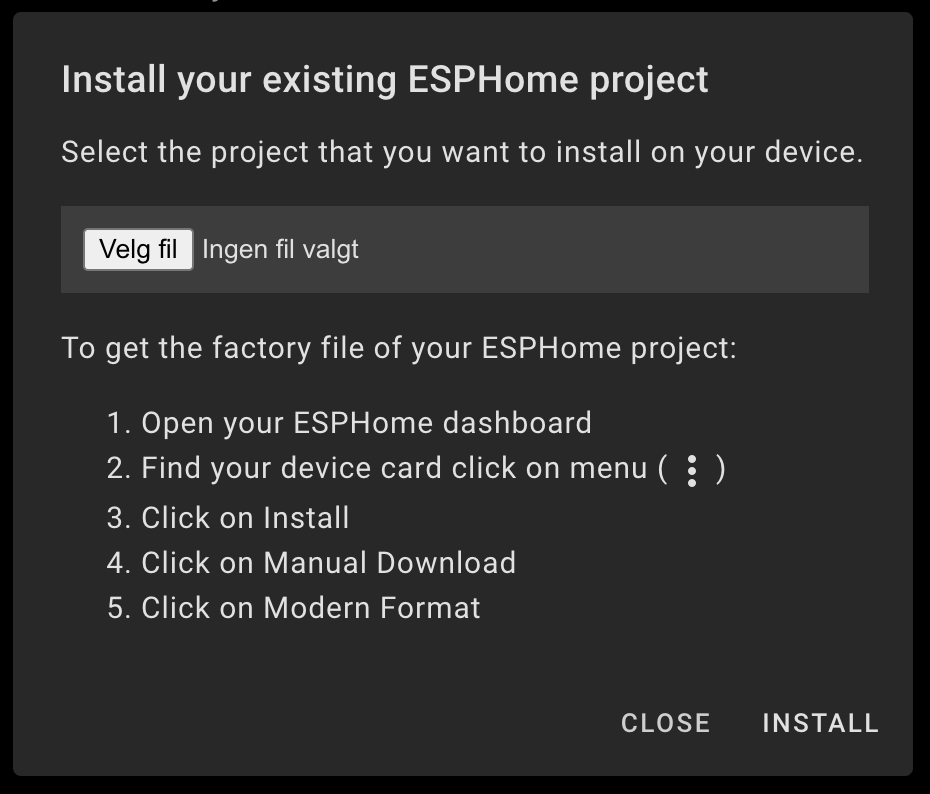
Then browse to your downloaded .bin-file an select that. Hit «INSTALL» and the rest should go almost automatically.
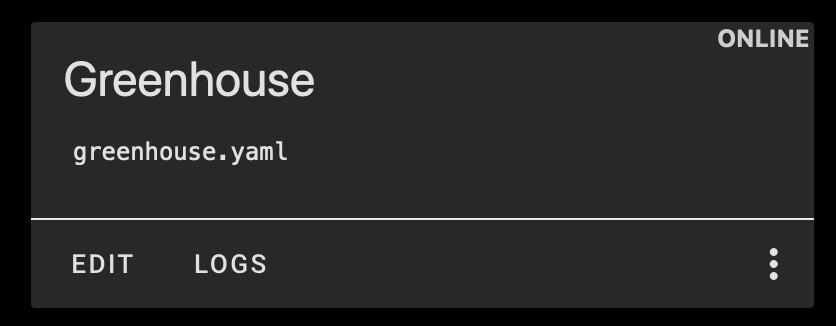
The device should now reboot and FINALLY be visible in ESPHome in your HA dashboard, online and ready for action:
Summary
Everything here has been a journey. It’s a lot of stuff to get to know and I’m still learning new stuff all the time. And not everything goes as planned. But that’s the name of the game.
Follow me when we dive deeper into both hardware and software territory and get a temperature sensor up and running, and talking to the cloud!