Creating a library for Office templates in SharePoint
Are you moving all your file shares to SharePoint and scratching your head for what to do with all your companys Office templates? Look no further, I’ve got you covered! Not only will I explain how it all works but also provide you with some PowerShell-lines to create a document library where you can store your templates.
How it all works in Office 365
Microsoft has provided a native solution for customers going full cloud and needing a centralized store for Office templates. They call it a «organization assets library» where you can store these files. You can create and specify up to 30 libraries in an organization, but all must reside in the same SharePoint site. And only libraries can be set as an asset library, not a specific folder. So be sure you create a dedicated library for this. You can also create a library for storing images and photos as well, but I’m not covering that here.
When you assign a library for templates it creates a CDN (Content Delivery Network) in your tenant. This takes care of the distribution of the templates to the end users’ computers and is done automatically. A CDN makes sure your resources are downloaded from a server close to your clients, and providing a good performance.
Microsoft Docs: Content Delivery Networks
How to do it in PowerShell
The Microsoft way of doing it is to create a document library manually, and designate that library via PowerShell. We are here taking this a step further and and we do everything in PowerShell with the help from a module called PnP Powershell. Follow the link to get help with installing that, or proceed to read if you already have it.
This script is also available on my GitHub. Feel free to add comments and suggestions if you have ways to improve it!
First we need to connect to the SharePoint Admin site as an admin with enough priviliges to create a SharePoint site:
Connect-PnPOnline -url https://yourdomain-admin.sharepoint.com -InteractiveThis next command creates the site, with Title, Site name, Location, Time zone and description. The «-Wait» at the end makes sure every artifact is ready before we continue:
New-PnPSite -Type TeamSite -Title "TemplateSite" -Alias "TemplateSite" -IsPublic -Lcid 1044 -TimeZone 4 -Owner "thatuser@yourdomain.com" -Description "SharePoint site for templates in Word, Excel and PowerPoint" -WaitA blank and empty site will not do, unless you want to use the default «Shared documents» library. To create a new, dedicated document library we must first change the context of where we run our commands:
Connect-PnPOnline -url https://yourdomain.sharepoint.com/sites/TemplateSite -InteractiveThen we create the dedicated library:
New-PnPList -Title "Templates" -Template DocumentLibrary -Url Templates -EnableContentTypes -EnableVersioning -OnQuickLaunchAnd finally, set this very Library as a Assets library in your organization:
Add-PnpOrgAssetsLibrary -LibraryUrl https://yourdomainn.sharepoint.com/sites/TemplateSite/Templates -OrgAssetType OfficeTemplateLibraryThis command may throw an error saying CDN is not enabled in this organization. Ignore that message.
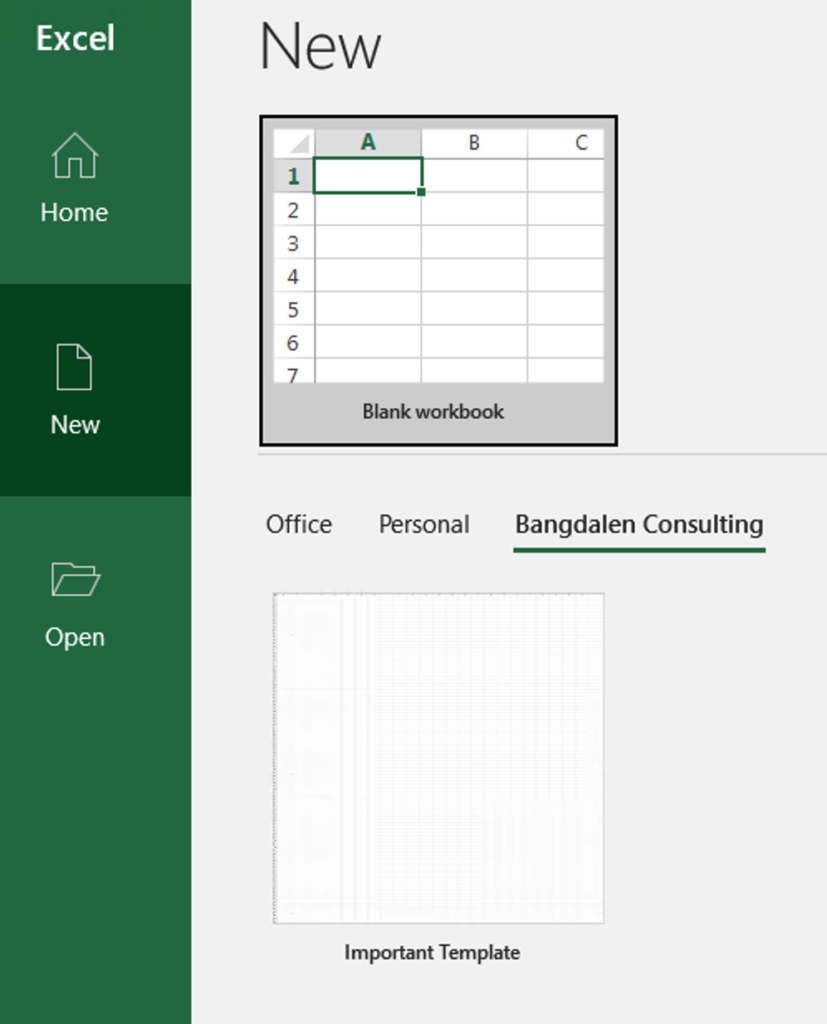
Now everything is ready to copy files to the newly created library. After some time those files will appear in Word, Excel and PowerPoint as templates looking like this:
Sources
https://learn.microsoft.com/en-us/sharepoint/organization-assets-library