How to brand your tenant with the new Azure AD branding experience
This december Microsoft released a new branding experience for the Azure AD login pages. It now features a lot more tools and options for customization with headers, footers and editable CSS! So now you can do more with how the log-in feels and looks like.
Not only will it look good, it will also be a more welcoming feel for when your users are logging in. It will generate a more consistent experience.
A quick note before we get started: Azure AD branding now requires Azure AD P1 or P2, or Office 365 (for Office apps). Don’t worry, existing branding in your tenant will not be removed.
https://learn.microsoft.com/en-us/azure/active-directory/fundamentals/how-to-customize-branding#license-requirements
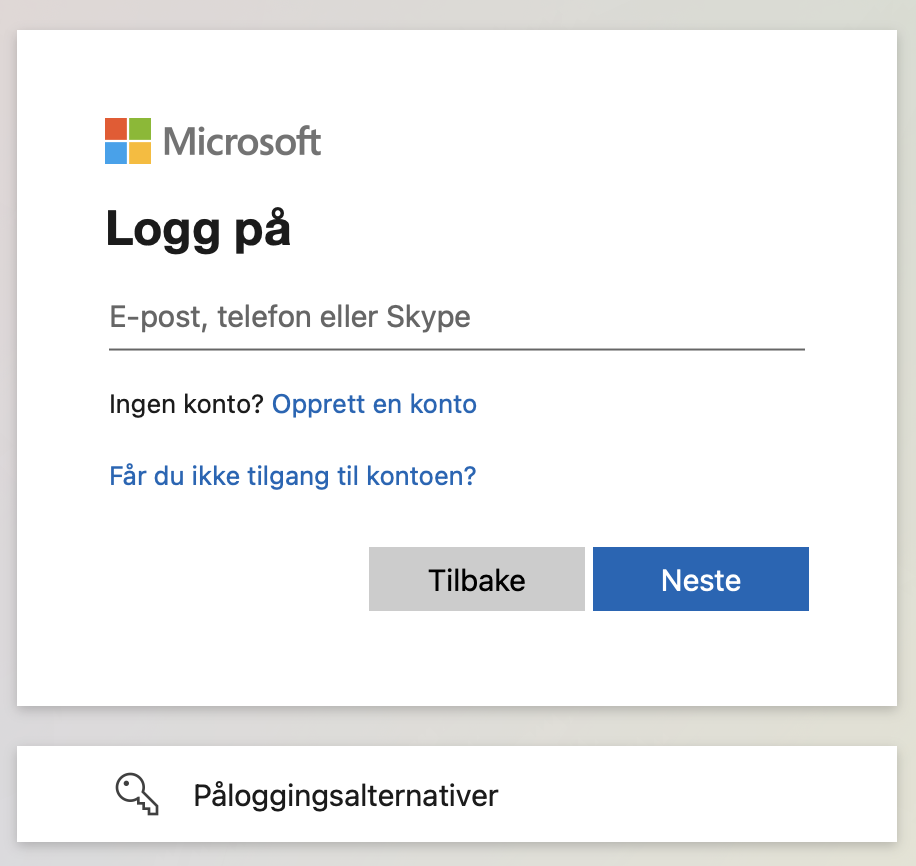
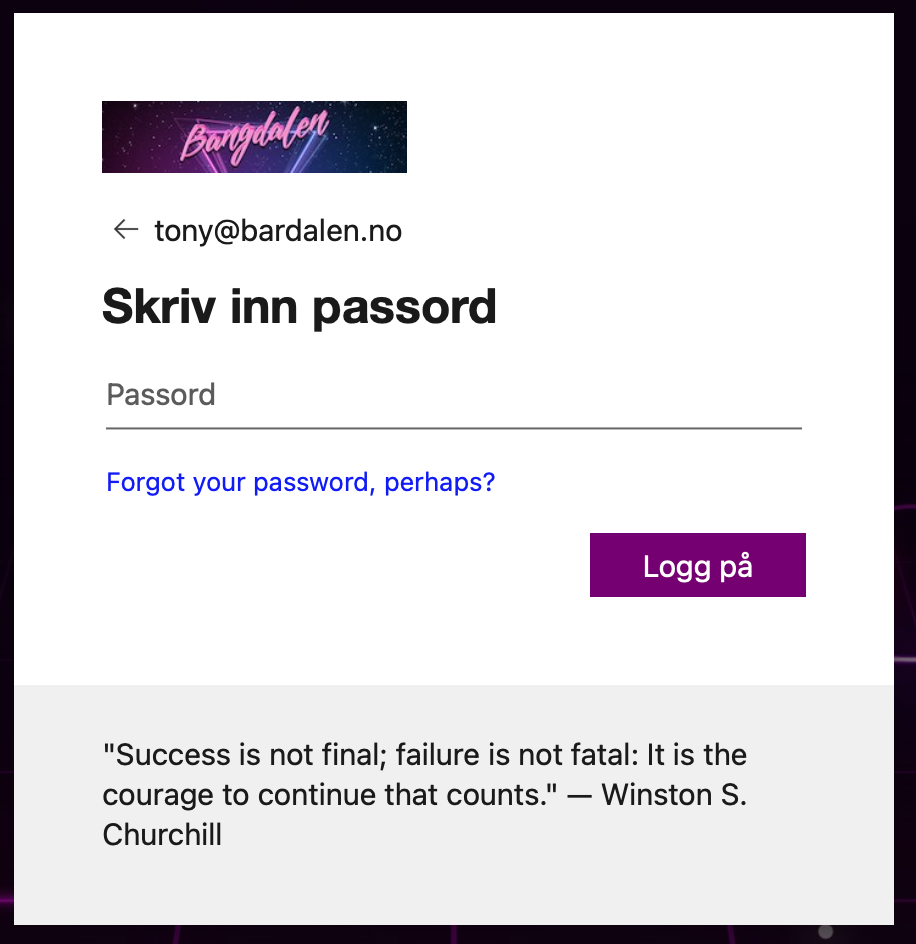
So how are we going to transform this
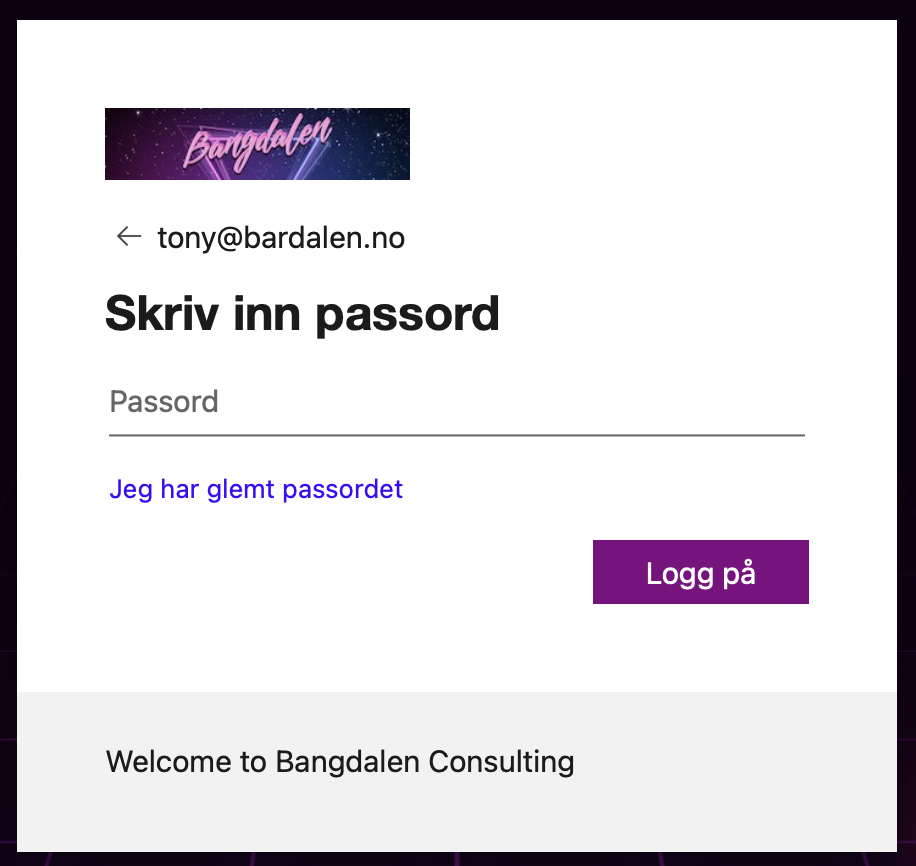
To this?
Follow this article and you will learn how.
How to get your brand out there
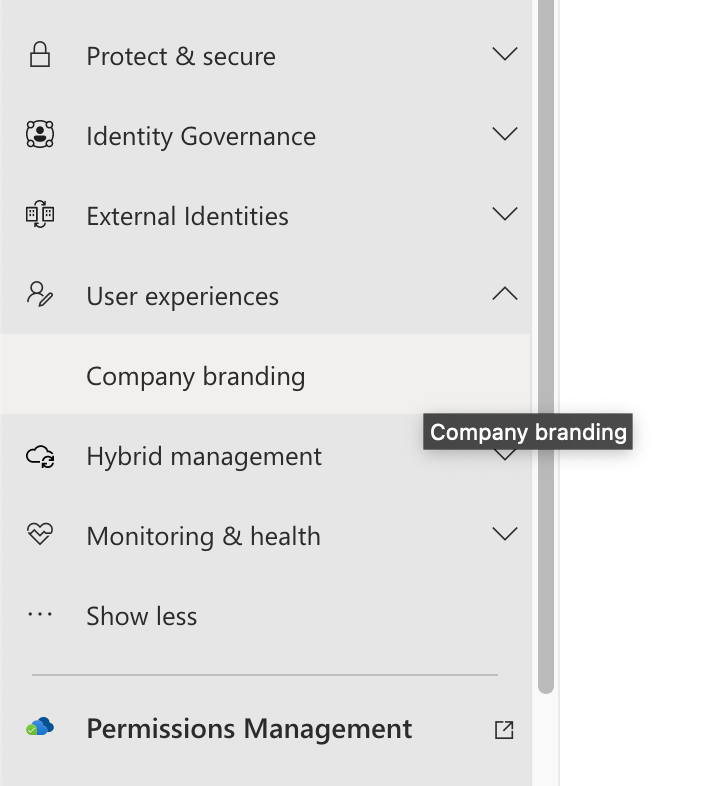
Sign in to the Azure Portal, or the more modern Entra Portal. In this guide we use Entra as an example:
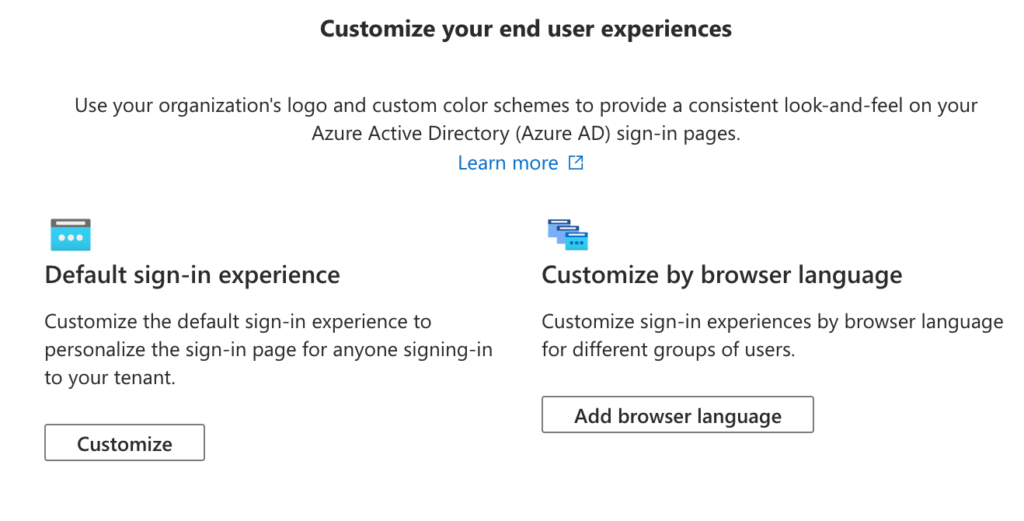
We do have a lot of options here. First off is the choice of customizing the default sign-in experience. The other one is to customize based on browser language. So if you are a company with locations in multiple countries or workers with different languages you have the option to create specific brandings for these languages. We are just going to change the default one here.
Then we are taken to a traditional wizard with these categories:

Basics first!
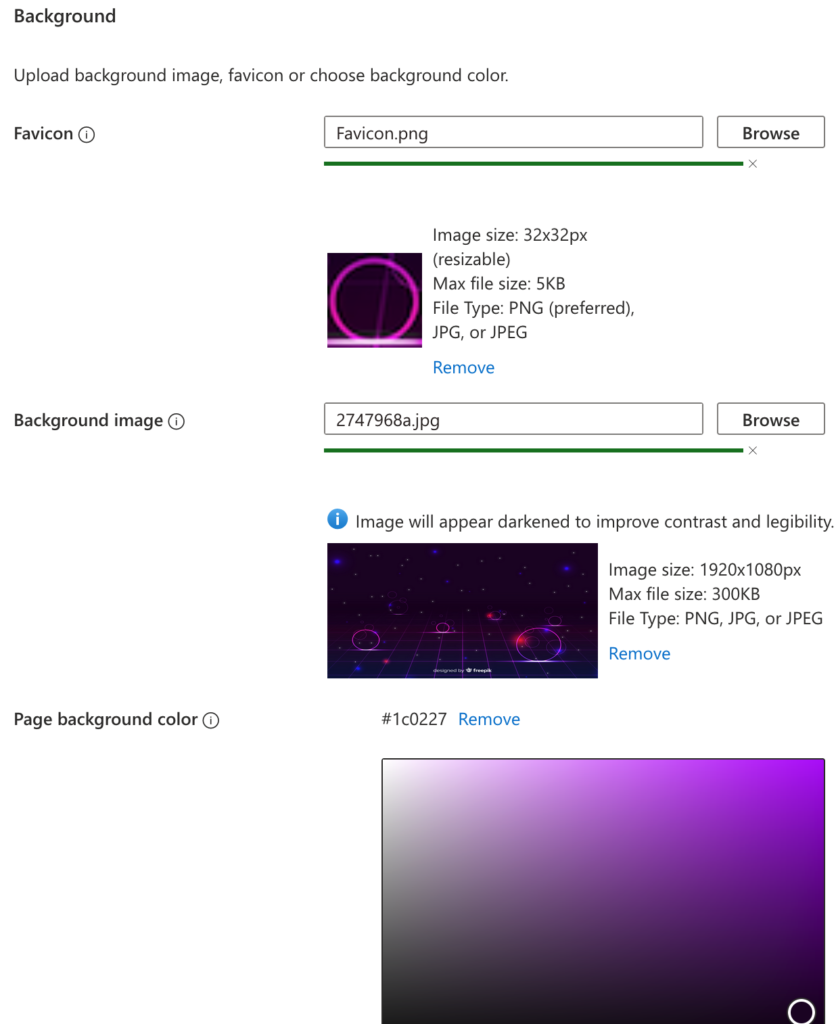
In this first category we can add the following:
- Favicon – The icon that is displayed in your browser in the address field and as an icon when you bookmark that page
- Background image – The image displayed in the background of your company’s sign-in page
- Page background color – For the rare occasion when the image failes to load due to poor network quality for example
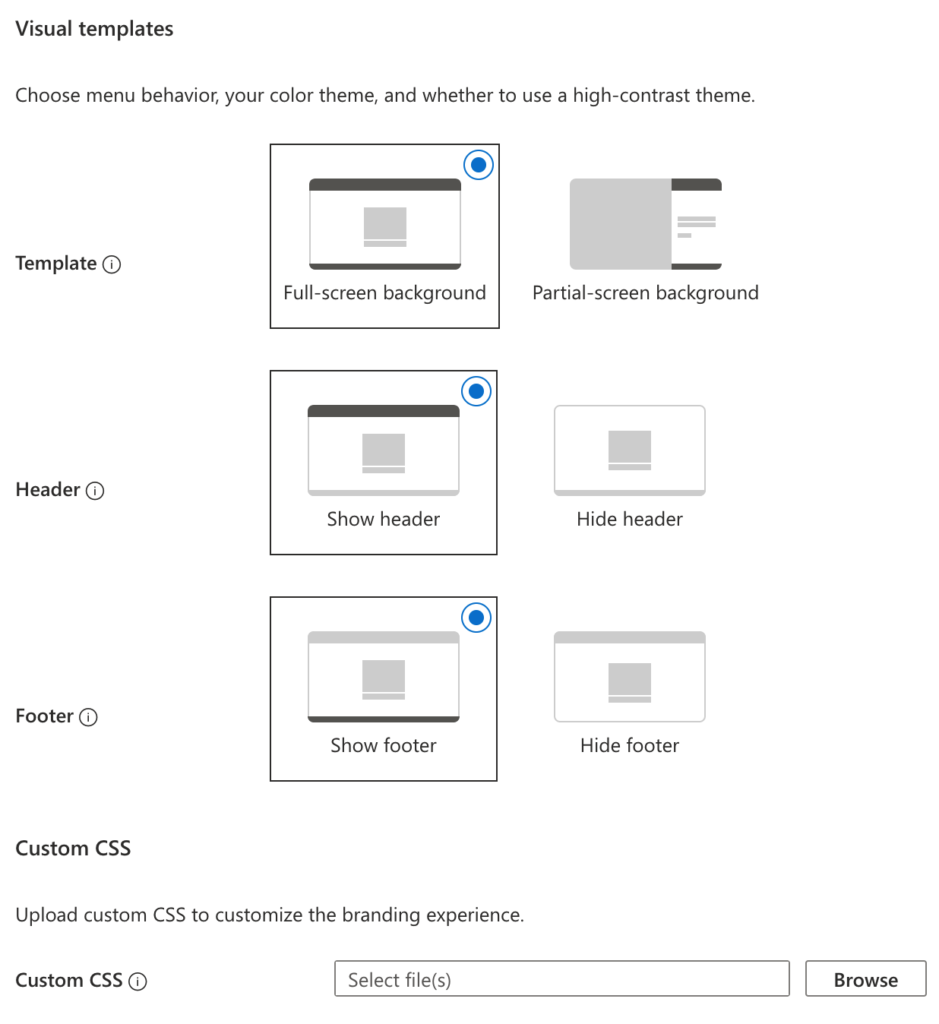
Layout
In this section you have the options to choose if you want to show a header, and or a footer on your sing-in page. The header usually contains some sort of logo, and the footer contains links to privacy statemenst and the terms of use. These can all be customized!
And lastly on this page, it’s possible to define a lot of styles via CSS if you want to go the extra mile. Download the CSS template here and begin adding your own unique style. And please see my Example CSS for some inspiration on how to begin with customizing with your own colors and features. I do recommend a proper editor for CSS, like VScode.
If you have some better CSS-examples than I have, please comment below 🙂
Header
If you opted in for a header, you now have the option to upload a logo to your header. Note that this file needs to be really small in size, only 10KB and maximum 280×60 pixels.
The logo will be visible in the top left corner of your sing-in page.
Footer
Next is the footer. Here you can place information about privacy statemens and terms of use with custom links and descriptions. If your company has it’s own specific statements you can add them here. Or hide both «Privacy and Cookies» and «Terms of use» if you want to!

Sign-in form
This is the familiar dialog box where you input your username and password. Here you have the ability to add your logo instead of the default Microsoft-one. It must be quite small, the same as the logo in your header.
Next you can add a square logo to your branding scheme. This will appear in Windows on your Azure AD joined devices as your company logo, and represent user accounts in the web UI for Azure AD.
If needed there is a option to give your users a hint for what they username is. This only works if the login already knows which tenant you are logging into, f.ex if you go to https://login.microsoftonline.com/yourdomain.com it will then automatically show you your branding. Or if you need to confirm your credentials etc. it will recognize the correct tenant.
You can also customize your welcome message when a user is prompted with the sign-in form. Perhaps your Company’s slogan, or a motivational quote? Or a reminder to join the big party! This is up to you.
We are soon done here. There’s a little thing at the end, and it’s Self-service password reset. Here you can add your own link if your company has it’s own rules or procedures to reset a lost or forgotten password. Quite handy!
Review and create!
Look through all your settings now at the end. Does everything seem okay? Hit that Save button and let the magic happen! It usually does not take very long for the branding to get populated in your tenant. Some links and other stuff may take som time, and all the logos and images are spread across Microsoft’s servers and CDN network. Be patient if not everything is populated at once.
Good luck with branding your own tenants out there! And please comment and share this article if you find it useful 🙂